

October 5, 2026
Instead of manually rebuilding your book layout after every edit, use Vellum to generate a print interior PDF, check it against your printer’s specifications, and prepare the cover separately. This 2026 Vellum to print book workflow takes you from an edited manuscript to files you can submit for production.
A book that looks finished in Vellum still needs a production check. Page dimensions, binding clearance, image quality, and cover geometry all affect the printed result.
Publishing Xpress is best for self-publishers who need short-run book printing from prepared files. Use Publishing Xpress for the printing stage; use Vellum for interior formatting. These are separate jobs, and completing one does not automatically complete the other.
For your 2026 edition, treat the exported PDF—not the editable manuscript or preview—as the file you approve. A small text correction can move chapter openings and change the final page count. That change can also affect a perfect-bound cover’s spine width.
The gotcha: an ebook cover is not a complete print cover. A front-cover image does not supply the back cover, spine, or production allowances required for a perfect-bound edition.
Before proceeding, put your specifications in a short project note. Record the manuscript revision, intended trim size, binding, paper choice, and whether any interior artwork reaches the page edge. Keep that note with your working files so you can compare the finished exports against the same decisions.
.docx file. Use paragraph styles for headings rather than repeated spaces, tabs, or manually enlarged text.Expected result: the book’s structure matches your manuscript, with no missing chapters, accidental duplicates, or misplaced front matter.
Importing is not proofreading. Search for an unusual character, a distinctive italicized phrase, and a scene break you know belongs in the manuscript. These spot checks help you find conversion problems before you apply a consistent design across the book.
Keep a separate copy of the source manuscript. Once you begin formatting, decide whether corrections will happen in Vellum or in Word, and record them consistently. Editing both files independently creates conflicting versions that are difficult to reconcile.
Expected result: your interior has consistent headings, paragraphs, scene breaks, and navigation.
Best for: Vellum works well for text-led novels, memoirs, and narrative nonfiction. Its structured formatting reduces repetitive layout work; the trade-off is less page-by-page freedom for designs built around complex tables, overlapping artwork, or tightly positioned exercises. For those projects, assess a page-layout workflow before committing to the interior.
Expected result: the print layout matches your chosen format, with readable binding clearance and deliberate page breaks.
For example, a 6 × 9-inch book has a different text area from a 5.5 × 8.5-inch book. These are common trim sizes, not a statement of this printer’s supported sizes. Select the actual production size first, then judge line length and page count.
In 2026, the practical rule remains simple: choose the finished book size before polishing individual pages. Changing size late invalidates earlier pagination checks and can require a new cover layout.
Assess images at their final printed size. 300 pixels per inch is a common target for continuous-tone print images, although the printer’s requirements control and line art needs different treatment. Enlarging a small image does not create missing detail.
Check photographs containing dark areas, captions with small type, and diagrams with fine lines. If the interior will print in black-and-white, inspect whether information depends on color alone. Two differently colored chart lines need another distinguishing feature when converted to grayscale.
For binding, use this decision table before locking the layout:
| Binding | Best for | Advantage | Limitation to plan around |
|---|---|---|---|
| Perfect bound | Text-led books with a glued spine | Familiar book format with a printable spine where dimensions permit | Inside margins and spine width need attention |
| Saddle stitch | Short booklets | Folded, stapled construction | Total page count must accommodate folded sheets |
| Wire-o | Reference material used open on a desk | Pages open flat | Binding holes require clear space |
| Plastic coil | Workbooks and frequently handled guides | Pages open flat and fold back | Binding holes require clear space |
Publishing Xpress book printing includes these four binding options. The benefit is a choice of formats for different reading tasks; the limitation is that your interior and cover must match the chosen construction. Do not treat one set of files as automatically suitable for every binding.
Expected result: you have a fixed-layout interior PDF with the intended dimensions, complete content, and stable pagination.
Use the generated PDF directly rather than printing it to another PDF through a system print dialog. That extra conversion adds another opportunity for scaling or other changes. If the printer requires a modification, make that change deliberately and inspect the result.
For your 2026 production folder, keep the editable project outside the approved-file folder. Label the interior export clearly enough that nobody has to guess which revision belongs in production.
Expected result: the printer receives an interior and cover that describe the same book, not two revisions assembled by accident.
The dependable sequence is Interior PDF, Page-count check, Cover file, then Proof approval. Do not approve the cover while the interior is still changing.
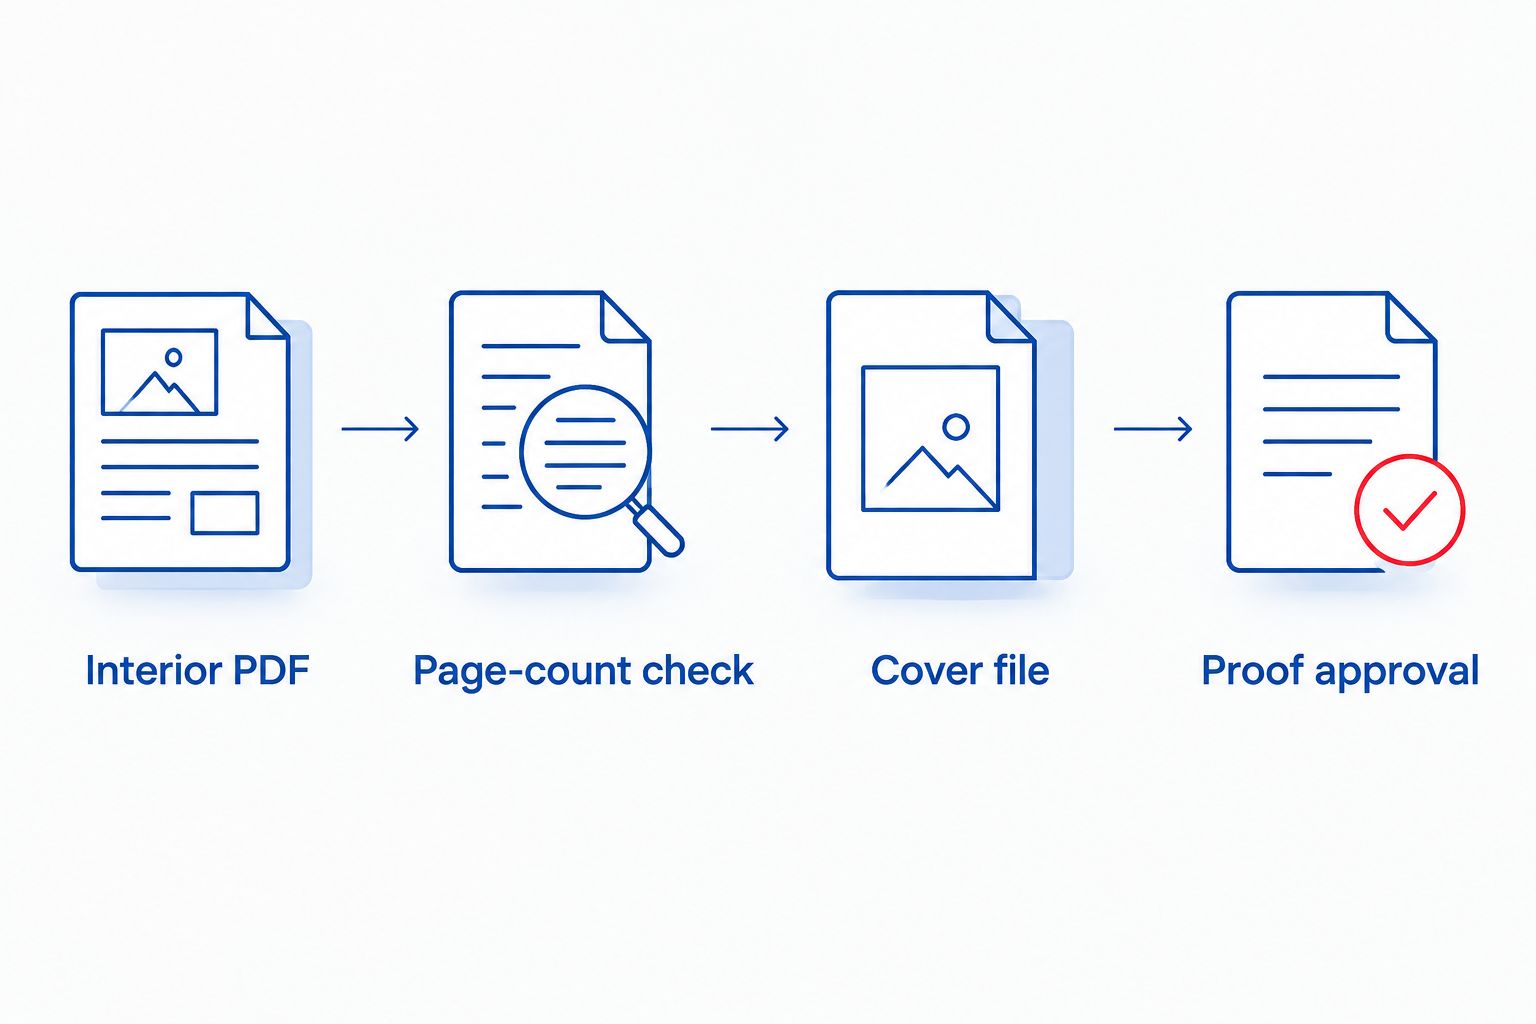
A submission note should identify the approved filenames and book specifications. Keep editorial questions separate from production instructions so an unresolved correction does not disappear inside a general message.
The adjacent workflow is a revised edition or corrected reprint. Use the existing Vellum project, but repeat the checks that depend on pagination.
Expected result: the revised book has a traceable file set, with no old interior paired with a new cover.
| Workflow | Best for | Main advantage | Main risk |
|---|---|---|---|
| First print edition | A manuscript entering production | Establishes the complete layout and cover specifications | Choosing the cover dimensions before pagination is final |
| Corrected reprint | Small changes to an existing book | Preserves the established design | Assuming a small edit cannot change page count |
| New trim-size edition | A different physical reading format | Adapts the book to a new use | Reusing the previous interior and cover without rebuilding |
For a 2026 reprint, verify the specifications again rather than relying on an old email. Reusing a project saves formatting work; it does not replace approval of the new exports.
Check that your Vellum access includes print generation through Vellum Press. Ebook generation and print generation are different capabilities. Resolve access before spending time on final production checks.
Return to the Word manuscript and inspect heading styles, manual breaks, and pasted formatting. Correct the source or reorganize the imported elements in Vellum, then verify every chapter title and its opening text.
Use the PDF’s total page count for production. Front matter and intentional blank pages still occupy paper even when they do not display a number. Do not calculate a spine from the last numbered page alone.
Revisit the interior margins and regenerate the PDF. Inspect facing pages and the selected binding’s clearance needs. Shrinking the finished PDF at submission is not a substitute for correcting the layout.
Check the original image dimensions and its final printed size. Replace low-detail files with better originals, reduce their printed size, or revise the design. For black-and-white interiors, inspect contrast as well as sharpness.
Set binding clearance before fine-tuning pagination. The guide to choosing margins for a print book explains the layout decision that affects every interior page.
For a text-led memoir, concentrate on chapter openings and readable body text. For instructional nonfiction, inspect headings, captions, and references. For a workbook, assess whether Vellum’s structured layout gives you enough control over writing spaces and binding clearance.
Add a simple approval log to your project folder. Record which manuscript revision generated the interior, which cover matches it, and which files you authorized for production. This is especially useful when an author, editor, designer, and printer handle different parts of the book.
How do I use Vellum to print a book?
Use Vellum Press to generate a print interior PDF, then check it against your printer’s specifications. Prepare the print cover separately and submit matching interior and cover files.
Does Vellum make a complete print cover?
Vellum’s print interior workflow does not replace preparation of a complete print cover. A perfect-bound cover needs front, spine, and back panels sized for the final production specifications.
Can I send my Vellum EPUB to a book printer?
Send the generated print PDF, not the EPUB, for a fixed-layout printed interior. EPUB content reflows for digital reading and does not supply the approved print pagination.
Why does my Vellum PDF have more pages than the last page number?
The PDF includes front matter and blank pages that do not necessarily display page numbers. Use the total PDF page count when communicating production specifications.
Do I need to change the cover after correcting a typo?
Recheck the cover if the correction changes pagination or another production specification. A typo correction does not automatically require a new cover, but the regenerated interior still needs inspection.
Is Vellum suitable for an illustrated workbook?
Vellum suits structured, text-led layouts better than tightly controlled page-by-page designs. Assess image placement, exercises, writing spaces, and binding clearance before choosing it for an illustrated workbook.
Can Publishing Xpress print a book formatted in Vellum?
Publishing Xpress provides book printing for self-publishers using prepared files. Generate the print PDF and confirm the project’s interior and cover specifications before submission.
Check the first page after every intentional blank page. A blank page is easy to approve in isolation; its purpose becomes clear only when you inspect the chapter or section that follows it. Keep it when it supports the intended opening, and remove it when it comes from stray formatting.
For your 2026 edition, make approval a file-level decision. Open the exact interior and cover PDFs you are submitting, inspect them together, and keep those approved copies unchanged.
© 2026 Publishing Xpress. All Rights Reserved.

