

October 5, 2026
Instead of manually fixing page breaks after every manuscript edit, use this Google Docs to print book workflow: finalize your page setup, apply consistent styles, export a PDF, and check that file against your printer’s requirements. This 2026 guide shows where Google Docs works for book interiors—and when you need another layout tool before printing.
A manuscript and a print-ready book are different files. Your manuscript holds the words; your production PDF must also preserve page dimensions, margins, images, and the intended reading order.
Publishing Xpress book printing is best suited to authors and organizations seeking short-run digital printing. Use Publishing Xpress for the printing stage, but prepare and approve the actual production files first. A document that looks right while you scroll is not proof that its exported pages are ready.
Google Docs supports collaborative writing and straightforward page layouts. Its limits matter: the standard page setup does not provide arbitrary custom book dimensions, mirrored inside/outside margins, or professional bleed controls. Choose the production route before formatting the entire manuscript.
For this 2026 workflow, use Google Docs in a desktop browser. Keep the editable manuscript separate from the files you approve for production; collaborators can continue changing a live document after you export it.
Best for text-focused books: Google Docs, provided its page sizes and margin controls meet the printer’s requirements. For other projects, retain Google Docs as the writing source and move the finished text into a tool with the necessary layout controls.
| Layout route | Best for | Advantage | Limitation |
|---|---|---|---|
| Google Docs directly to PDF | Simple, text-focused interiors using supported page sizes | Keeps editing and basic formatting together | No arbitrary custom trim sizes or native mirrored-margin setup |
| Google Docs to Microsoft Word | Text-heavy interiors needing custom dimensions and mirrored margins | Adds book-oriented page setup controls | Imported formatting and pagination need another review |
| Google Docs to Adobe InDesign | Illustrated interiors, full bleed, and detailed page design | Provides precise page, bleed, and typography controls | Requires a separate layout stage and familiarity with the application |
Publishing Xpress offers perfect bound, saddle stitch, Wire-O, and plastic coil binding. Those options give you different reading experiences, but printing does not replace file preparation: confirm the chosen binding’s layout requirements before submitting your PDF.
Expected result: your print-layout copy has fixed pages, the intended supported dimensions, and approved margins. If the required dimensions are unavailable, stop here and change layout tools; do not build the rest of the book around the wrong size.
The 2026 rule is simple: choose the finished page geometry before polishing the text. Changing dimensions later changes line wrapping, chapter lengths, and the final page count.
Expected result: chapter titles use a consistent heading style, paragraphs follow one formatting system, and chapter starts remain intentional as text changes.
Do not confuse heading styles with finished typography. Styles make revisions consistent; you still need to inspect line endings, awkward gaps, and isolated lines at page boundaries. Check the first and last lines of each chapter rather than reviewing only the opening spread.
Expected result: interior artwork remains readable at final size, and the cover follows a separate, confirmed production specification.
For a 2026 print project, distinguish decorative artwork from essential information. A photograph can extend toward a trim edge when correctly prepared; a caption or page number needs safe clearance.
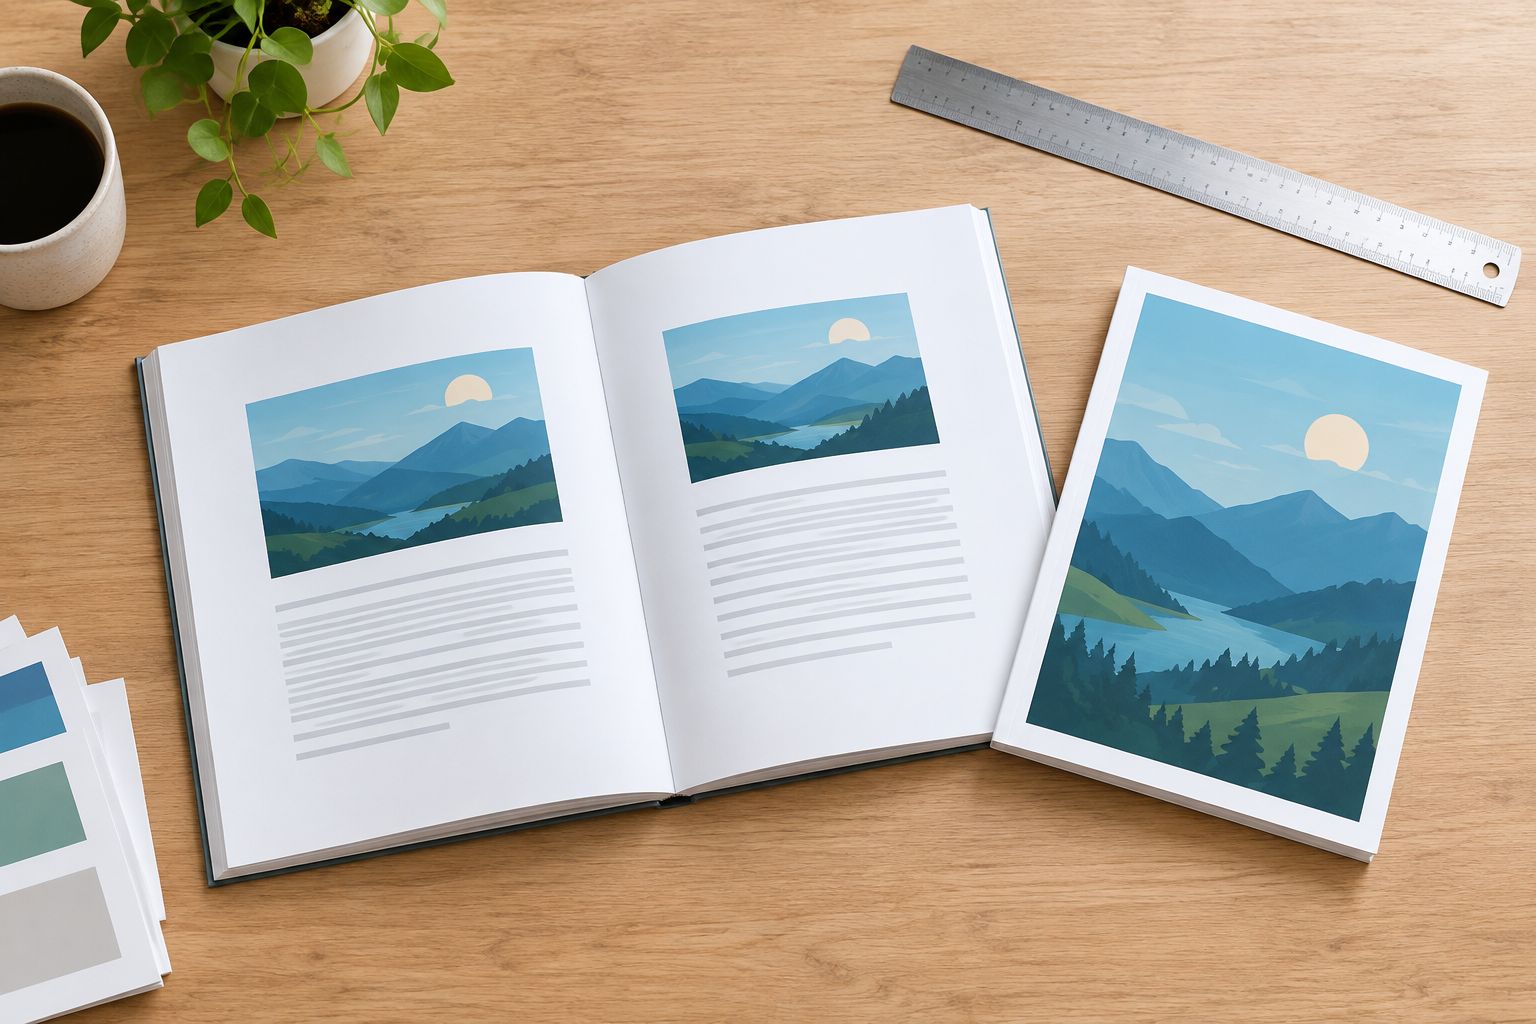
Expected result: you have an inspected interior PDF, the appropriate cover file, and a specification that describes the same book as those files.
This 2026 workflow ends with approval, not download. Approve the exact production PDF, and check any proof supplied through the printer’s process before authorizing printing.
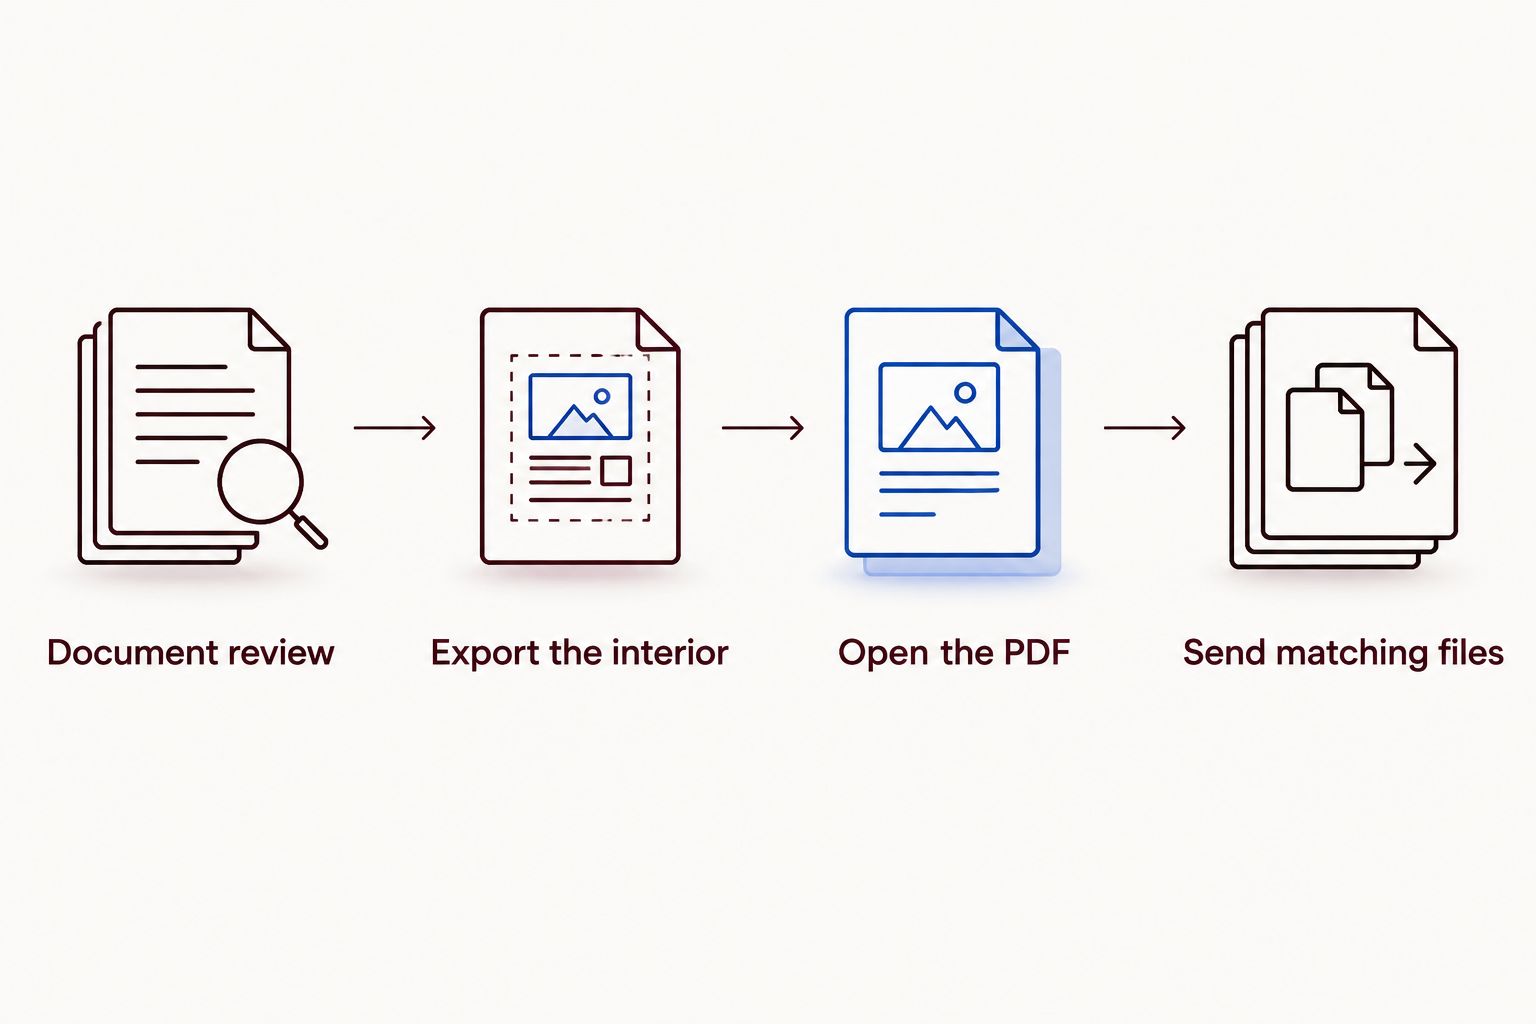
A revised manuscript needs a revised production file. Google Docs saves edits, but an already downloaded PDF does not update with them.
Best for collaborative revisions: keep one designated production copy and one clearly identified approved export. Multiple working drafts are useful during writing; multiple supposedly final PDFs create an avoidable handoff problem.
Return to File and Page setup and check Paper size. If Google Docs does not support the required trim, finish the layout elsewhere. Scaling the entire PDF changes text size and margins along with the page.
Check the approved margin specification and examine both left-hand and right-hand pages. A single enlarged left margin is not a mirrored gutter. Use another layout tool when alternating inside margins are required.
Remove repeated empty paragraphs used as positioning devices. Insert actual page breaks, then check the paragraph styles and spacing. Review later chapter openings as well as the page you edited.
Check the original image dimensions against its placed size. Replace undersized source files or reduce the printed image size. Changing an image’s resolution label without adding genuine detail does not sharpen it.
Ask which property needs correction: dimensions, fonts, bleed, color treatment, or another stated requirement. Fix that specific issue in a suitable application and export again. Do not repeatedly submit an unchanged file.
Build a reusable production template only after its PDF passes inspection. Keep approved paragraph styles, supported page dimensions, and a checklist for export; remove project-specific text and images before reusing it.
For a 2026 workbook, plan binding clearance around writing spaces and frequently opened pages. For a novel or memoir, focus on consistent paragraphs, chapter openings, and readable page numbering. The purpose of the book determines the layout decisions.
Publishing Xpress short-run book printing includes several binding choices. Pick the binding before final pagination, then prepare the files to match it—not the other way around.
Prepare your book for printing
Review printing options, then confirm the file requirements for your chosen book format.
Can I use Google Docs to print a book?
Yes, Google Docs can produce a PDF for a straightforward book interior when its supported page sizes and layout controls meet your printer’s requirements. Inspect the exported PDF before submitting it; a download alone does not make it print-ready.
How do I turn a Google Docs manuscript into a PDF book?
Select File, Download, then PDF Document (.pdf). Open the downloaded file and check its dimensions, page count, fonts, images, and reading order against the printer’s instructions.
Can I set a custom book trim size in Google Docs?
Google Docs’ standard page setup offers preset paper sizes rather than arbitrary custom dimensions. If your finished trim size is absent, move the manuscript into a layout tool that supports it.
Can Google Docs create mirrored margins for a printed book?
Google Docs does not provide a native mirrored inside/outside margin setup. Use a tool with mirrored-margin controls when the binding specification requires alternating inside margins.
Should I send the printer a Google Docs link or a PDF?
Send the production format the printer requests, using a checked PDF when PDF submission is required. A live Google Docs link is an editable manuscript reference, not a fixed production file.
Can I make a full-bleed book in Google Docs?
Google Docs is not a suitable final layout tool for a book requiring professional bleed controls. Keep writing in Docs, then prepare the production layout in an application that supports the printer’s bleed specification.
Do I need to prepare the book cover separately?
Prepare the cover according to the printer’s cover-file requirements rather than treating the manuscript’s first page as a finished cover. A perfect-bound cover needs confirmed dimensions for the back, spine, and front.
What happens if I edit my manuscript after exporting the PDF?
The existing PDF stays unchanged when you edit Google Docs. Export and inspect a replacement, check whether pagination affects the cover, and clearly identify the new approved version for the printer.
A blank PDF page is still a production page. Do not delete blank pages just because they contain no text: some preserve an intentional chapter opening or front-matter arrangement. Check their purpose, count them in the submitted interior, and make sure the printer receives the same pagination you approved.
© 2026 Publishing Xpress. All Rights Reserved.

