November 9, 2026
Wellness retreat coloring book printing is the production of bound activity books with the aim of giving guests a creative activity and a take-home companion. For your 2026 retreat, choose paper around the coloring tools, choose binding around table use, and confirm the delivery schedule before approving your files.
A retreat coloring book has a practical job: guests need to open it, reach the artwork comfortably, and use the supplies you provide. Start with those actions rather than a decorative cover. A beautiful design does not fix a drawing that disappears into the binding.
Publishing Xpress coloring book printing is best for retreat organizers who need 25 copies or more and a choice of bindings. Publishing Xpress offers perfect bound, saddle stitch, plastic coil, and Wire-o printing. The limitation is equally clear: its 25-copy minimum does not fit a project requiring fewer copies with no use for the remainder.
For a 2026 retreat, separate the book's reusable content from details that change between events. Nature drawings and open-ended prompts can remain useful across sessions; guest names, dates, and schedules require careful version control. Keep the book focused on a voluntary creative activity, not a promise of treatment or a particular emotional response.
Write a short brief in a document you already use. Identify when guests will receive the book, where they will color, and whether a facilitator will introduce the activity. This costs no design work and prevents an attractive but impractical format.
Decide whether your 2026 edition is primarily a coloring book or a coloring-and-reflection workbook. The second needs space for handwriting as well as illustrations. Avoid asking every page to serve both purposes; a busy drawing with a cramped writing area does neither job well.
Build the brief around these decisions:
Sketch a page map on paper before creating finished artwork. Give every page a purpose, including welcome text, illustrations, reflection space, and intentional blanks. This makes omissions easier to spot than scrolling through finished designs.
Offer a mix of open shapes and detailed patterns so guests can choose their level of involvement. Do not label intricate pages as more advanced or better. A retreat activity should not require guests to finish a drawing, explain their choices, or display personal writing.
If artwork comes from an illustrator or a licensed collection, confirm permission for printed distribution. An image being downloadable does not establish permission to reproduce it in a retreat book.
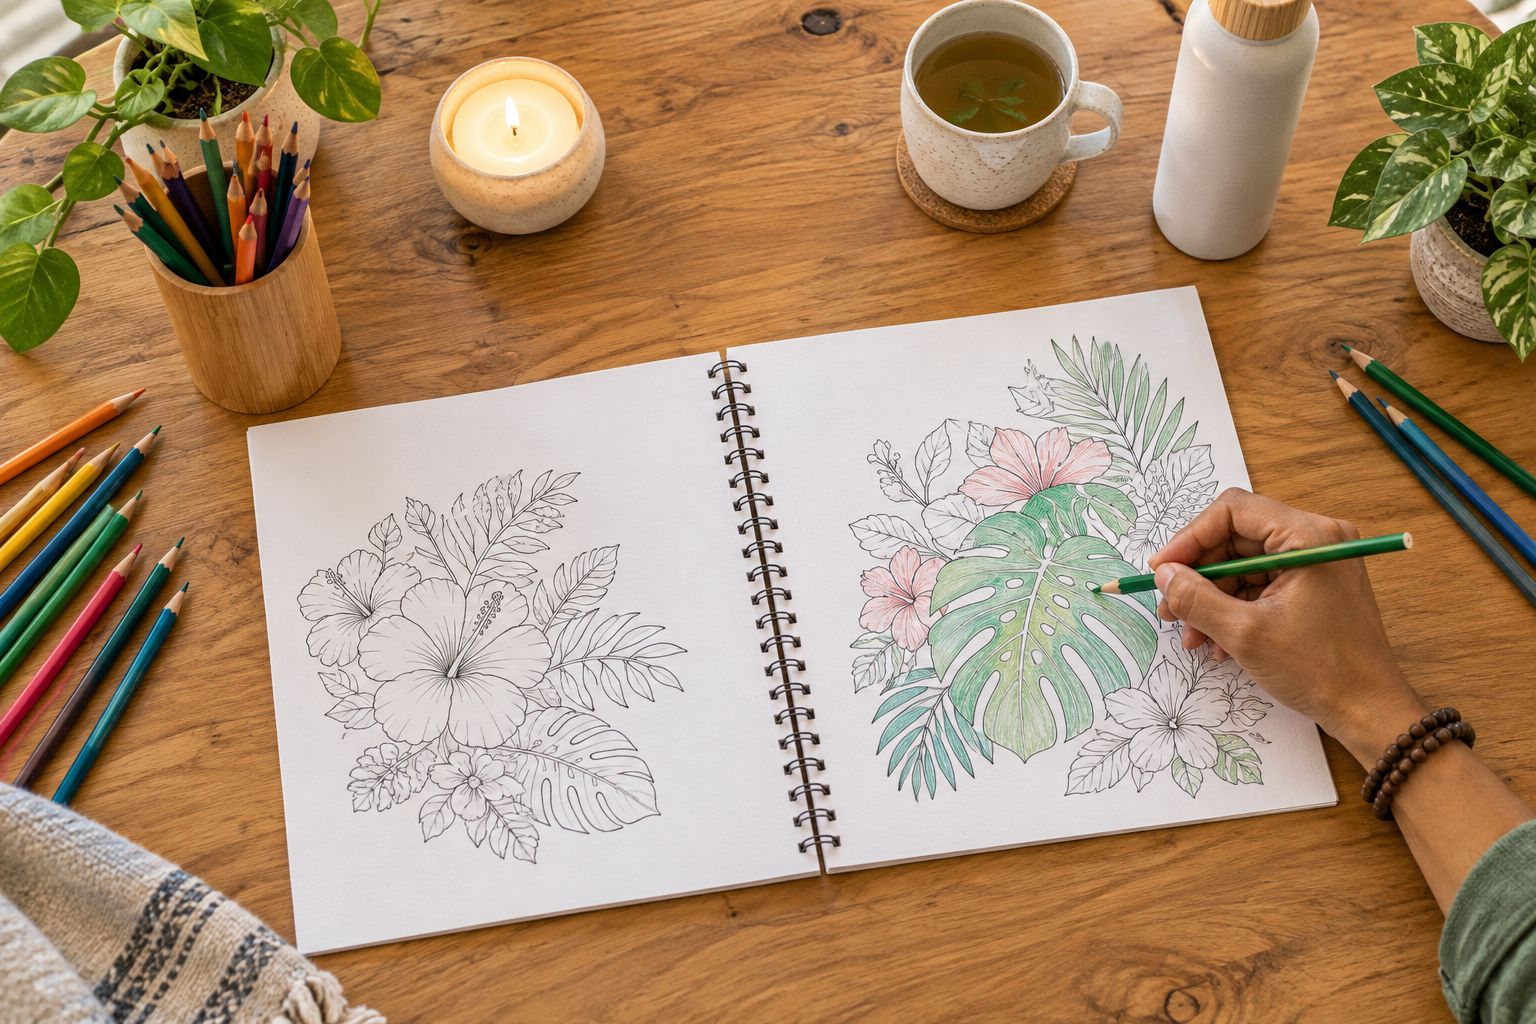
Make a folded paper mockup and try coloring near its center. Then compare that experience with a coil-bound book you already own. This simple test exposes how much the binding affects hand placement and access to the artwork.
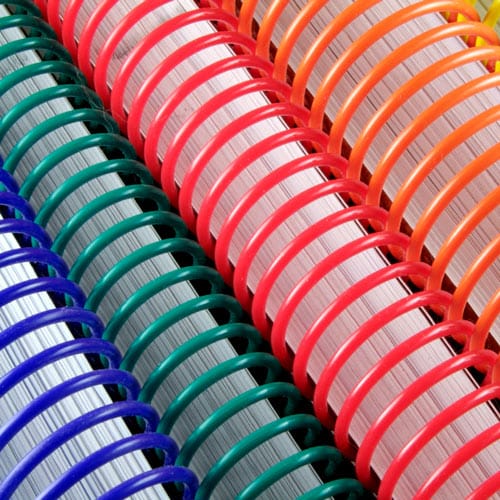
Plastic Coil Printing is the best starting choice for table-based retreat coloring because pages can stay open and fold back. Saddle Stitch Printing suits a shorter booklet when compact handling matters more than fold-back use. Wire-o Printing also opens flat, while Perfect Bound Printing gives you a paperback-style spine but does not naturally stay open like coil.
Publishing Xpress coloring book printing offers all four formats, so you can choose the binding after defining the activity rather than reshaping the activity around a binding. Its saddle stitch maximum is 80 pages; confirm how the cover and interior are counted before finalizing your layout. The coil vs. Wire-o binding guide helps with that narrower decision.
Print representative artwork at its intended size using equipment you already have. That checks the drawing's scale and legibility, but it does not establish how the final production paper will perform. Ask about paper samples and the available proof process before placing the order.
Test the proposed stock with the exact pencils or markers planned for the retreat. Look for show-through, bleed-through, smearing, and how the surface accepts color. Do not describe a paper as marker-proof without testing that particular paper-and-marker combination.
Artwork on only one side of each leaf protects the reverse from holding another illustration, but it does not make the paper impermeable. Intentional blank backs also affect the total page count. Resolve both decisions before selecting a binding.
Use your existing layout application to set the finished page size before placing illustrations. Export a PDF and inspect it at actual size. Enlarging a small image inside a layout does not restore missing detail, so inspect line edges rather than trusting a thumbnail preview.
Leave a deliberate clear area at the binding edge. Ask the printer for the required margins and bleed rather than copying settings from an unrelated project. Artwork that ends inside the page needs different edge treatment from a cover image that runs to the trim.
Keep instructions short and separate from coloring areas. A restrained introduction can explain that guests can skip pages, use their own colors, and leave drawings unfinished. Avoid filling useful coloring space with repeated event messages.
Start with a local printout, assemble it in reading order, and work through the proposed activity. Ask a colleague who has not seen the layout to follow the instructions. Confusing directions are easier to fix before the file enters production.
Next, review the printer's proof according to the proof format provided. A screen review checks content and placement; it does not substitute for testing coloring tools on the proposed stock. Ask what the proof does and does not demonstrate before treating it as a materials test.
Assign a single person responsibility for final approval. Collect corrections in one list, update the source file, and export a clearly named replacement PDF. Do not let several near-identical files become competing final versions.
Use a simple worksheet to total guest copies, facilitator copies, and any deliberately retained copies. Compare that requirement with the 25-copy minimum. If the retreat needs fewer books, decide whether a reusable edition makes the remaining copies useful instead of adding dated content automatically.
Publishing Xpress ships in 4 to 6 days after proof approval. Shipment is not arrival. Standard production is described as 4 to 6 business days after approval, so confirm the working schedule and allow separately for transit to your destination.
For your 2026 retreat calendar, work backward from the date books must be physically available for packing or distribution, not simply the opening session. Rush options are available, but confirm the applicable schedule before relying on one. Leave room for corrections before approval starts the production clock.
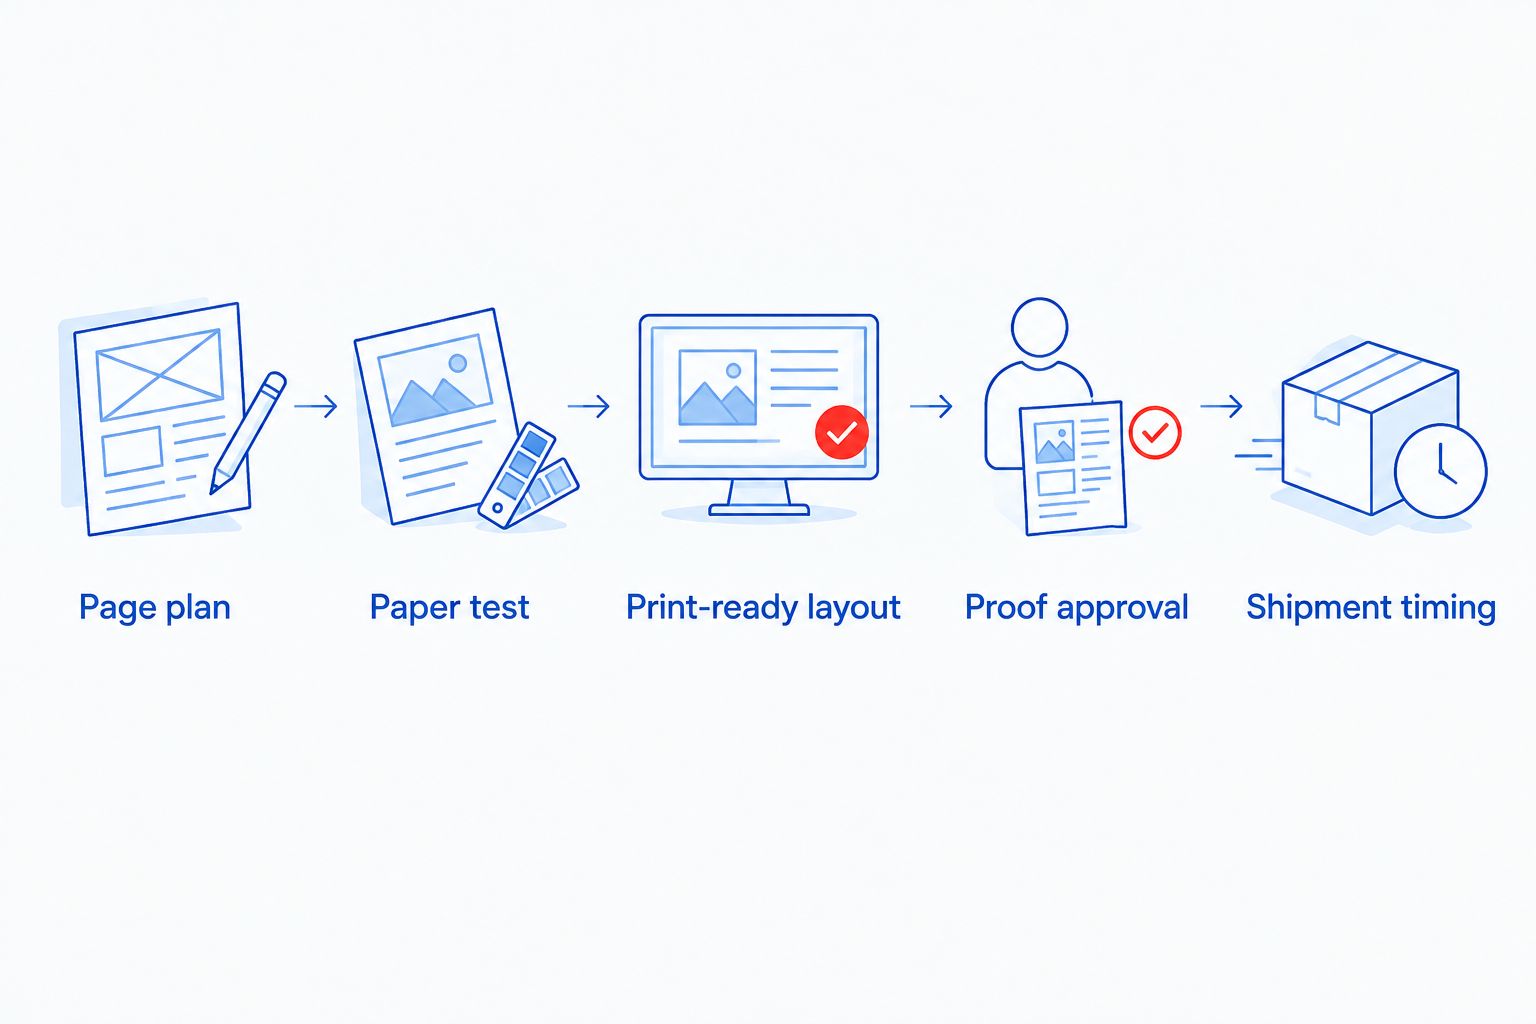
The sequence below keeps the material and usability decisions ahead of final approval. Return to the relevant stage whenever a proof correction changes the paper, binding, or layout.
Choose the binding for the activity, not just the cover appearance. Each format below has a useful role, but none removes the need to test paper with your coloring supplies.
| Option | Best for | Practical advantage | Key limitation |
|---|---|---|---|
| Plastic Coil Printing | Table-based coloring and reflection | Opens flat and folds back | Punched holes require clear space along the binding edge |
| Saddle Stitch Printing | Short, compact retreat booklets | Folded sheets form a compact booklet | Publishing Xpress limits this format to 80 pages; it does not fold back like coil |
| Wire-o Printing | Coloring-and-journaling books used on a desk | Opens flat and permits fold-back handling | Wire loops can deform if the book is crushed |
| Perfect Bound Printing | Take-home editions where a paperback spine matters | Provides a glued spine and paperback format | Does not naturally lie flat; artwork near the gutter is harder to reach |
Choose Plastic Coil Printing for hands-on use; choose Saddle Stitch Printing for a compact, shorter booklet. If your design relies on a paperback spine, accept the handling trade-off and keep the coloring areas away from the gutter.
What’s the best binding for a wellness retreat coloring book?
Plastic coil is the best starting choice for table-based coloring because the book opens flat and folds back. Saddle stitch suits shorter, compact booklets, while perfect binding prioritizes a paperback spine over flat opening.
Can I order a small batch of retreat coloring books?
Publishing Xpress has a minimum print quantity of 25 copies. Count guest and facilitator copies first, then decide whether retained copies should use an undated interior.
What paper should I choose for a retreat coloring book?
Choose paper by testing the exact pencils or markers you intend to provide on the proposed stock. Inspect the reverse side and following sheet before deciding whether to place artwork on both sides.
Should coloring book pages have blank backs?
Use blank backs when your material test shows that reverse-side artwork would be compromised. Blank backs do not prevent ink from reaching the following sheet, so test the complete paper-and-tool combination.
How many pages can a saddle stitch coloring book have?
Publishing Xpress offers saddle stitch books with a maximum of 80 pages. Confirm how the cover and intentional blanks count before finalizing your file.
How long does printing take after proof approval?
Publishing Xpress states that it ships in 4 to 6 days after proof approval and describes standard production as 4 to 6 business days. Confirm the working schedule and add transit time separately when planning your retreat.
Can I use downloaded illustrations in the retreat book?
Use downloaded illustrations only when their license permits your intended printed distribution. Keep permission records and check restrictions before including the artwork in your production PDF.
Proof the activity, not just the pages. Before approving your 2026 edition, sit at the type of table guests will use, open the mockup, and color near the binding with the intended supplies. That practical check connects the paper, layout, and binding decisions in a way a cover preview cannot.
© 2026 Publishing Xpress. All Rights Reserved.