July 24, 2026
Picture storytelling means building a narrative where images carry as much weight as text — sometimes more. This guide walks through the steps for planning, drafting, and printing a book where pictures do the talking, whether that's a children's picture book, a graphic novel, or a photo-driven memoir.
A manuscript-first approach fails picture-driven books because the text gets written to fit a word count, then images get bolted on as illustrations of what's already been said. That produces flat pages. Picture storytelling flips the order: image and text get planned together, spread by spread, so the picture carries plot information the words don't repeat.
The stakes are print-specific too. A photo book with a 96-dpi hero image looks fine on a laptop screen and pixelated on a 12×12 page. A comic with panels that ignore bleed loses character faces at the trim line. Getting the storytelling structure right in 2026 means planning for the page, not just the screen.
List 8 to 12 major beats on index cards or a spreadsheet before a single image gets made. This keeps the image sequence doing narrative work instead of decoration.
For a 32-page picture book, that's roughly one beat every 2-3 spreads. Skip this and you end up with gorgeous individual pages that don't build tension page to page.
Common mistake: drafting text first, then hunting for images that match. Reverse it — sketch thumbnails alongside dialogue so both evolve together.
Decide where the page turn creates a reveal, a joke, or a cliffhanger. In picture books, the physical act of turning the page is a storytelling tool — use it on roughly every third or fourth spread for pacing.
A 40-page count gives you about 18-20 spreads once front matter is subtracted, which is enough room for 5-6 deliberate page-turn reveals.
Expected outcome: a rough dummy where every spread earns its place instead of padding the count.
Keep word count per spread low — 20 to 60 words is typical for ages 4-8 picture books — and let the image carry setting, emotion, and secondary action the text doesn't state outright.
If your text explains what the picture already shows, cut the text. Redundant captions are the single most common note editors give first-time picture-book authors.
Common mistake: captioning every image instead of trusting the picture. If a reader can identify what's happening without the sentence, drop the sentence.
Every photo, stock image, or referenced illustration needs a clear rights trail before it goes into a print file. This applies to memoirs using archival photos and graphic novels referencing real locations just as much as picture books.
Check usage terms, get written permission for anything borrowed, and keep records. The full breakdown on using images legally in a book covers licensing categories and what counts as fair use versus what doesn't.
Expected outcome: a file folder of permissions you can produce if a printer or distributor asks.
Mock up every spread at the actual trim size you'll print — not a scaled-down draft. This is where bleed problems and cramped gutters surface, before they cost you a reprint.
Set images to bleed 0.125 inch past the trim edge on any spread where art runs to the page edge. Full bleed pages need this margin built in from the first layout pass, covered in the full bleed printing guide.
Common mistake: designing at screen resolution (72 dpi) and only checking print resolution at the end. By then, half your images need reshoots.
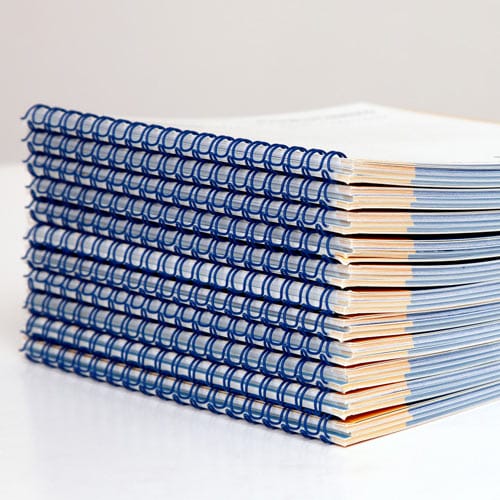
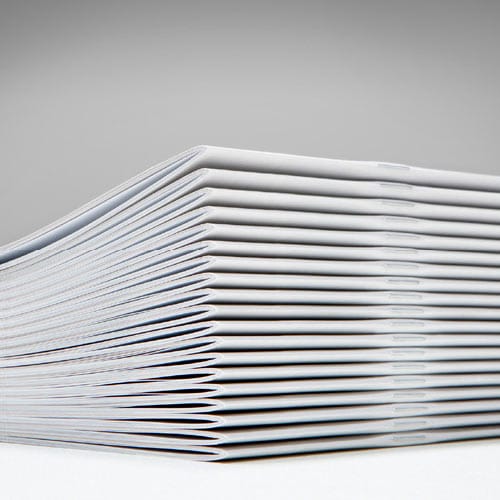
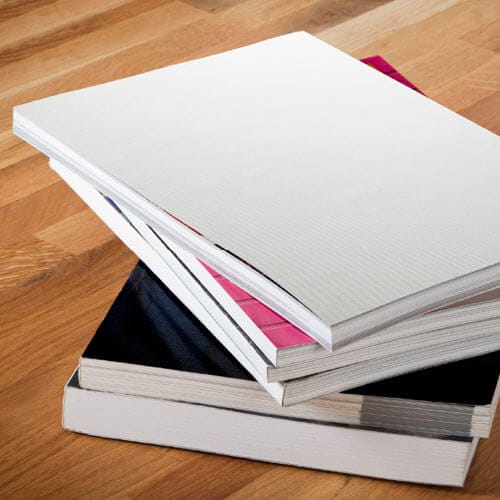
Saddle stitch works for 8 to 64 pages and lies flat, which matters for a picture book a kid will handle repeatedly. Perfect binding suits 40-plus page graphic novels that need a spine for shelf display. Wire-o suits sketchbook-style or workbook-adjacent picture projects where pages need to fold back flat.
A 32-page picture book printed saddle stitch in 2026 typically runs lower per-unit cost than the same count perfect bound, because there's no spine gluing step.
Expected outcome: a binding choice that matches how the reader will actually hold the book, not just what looks premium on a shelf.
Order one printed proof before committing to your full quantity. Screen color and printed CMYK color diverge enough that skipping this step is the most expensive shortcut in picture storytelling.
Check skin tones, dark backgrounds, and any spread with fine linework under raking light — these are where color shift shows up first.
Common mistake: approving a PDF proof only. A digital proof won't catch dot gain or paper-stock color shift the way a physical copy will.
Once your dummy is locked and rights are confirmed, move into file prep — check trim size, bleed, and binding compatibility one more time before you submit. For projects heavier on panels than prose, the graphic novel printing guide covers panel-specific bleed and page-count considerations that a straight picture book doesn't hit.
What is picture storytelling?
Picture storytelling is a narrative approach where images carry plot, emotion, or setting information rather than just illustrating text that already states it. It applies to picture books, graphic novels, photo essays, and comics printed in 2026.
How many words should a picture book page have?
Most picture books for ages 4-8 run 20 to 60 words per spread, with a 32-page count being the industry standard. Fewer words leaves more room for the image to do the storytelling work.
What resolution do images need for print?
Images need 300 dpi at final trim size for clean print output. Screen-resolution images at 72 dpi print blurry or pixelated, especially on full-bleed spreads.
Do I need permission to use images in my book?
Yes, any photo or illustration you didn’t create yourself needs documented permission or a valid license before it goes to print in 2026. This includes stock photos, archival images, and reference art.
What binding works best for a photo-heavy book?
Saddle stitch suits photo books under 64 pages and lies flat for viewing spreads; perfect binding suits longer photo books over 40 pages that need a spine. Page count decides the choice, not preference alone.
Is a graphic novel different from a comic book for print purposes?
Yes, graphic novels are typically longer and perfect bound with a spine, while comic books run shorter and use saddle stitch. Both rely on the same bleed and panel-margin rules.
How much bleed do I need for full-page images?
Set bleed to 0.125 inch past the trim edge on any spread with art running to the page edge. Skipping this cuts off faces, text, or key details at the trim line.
Should I proof a physical copy before printing my full run?
Yes, always order one printed proof before committing to full quantity in 2026. Screen color and printed CMYK color diverge enough that a digital-only proof misses real color and bleed issues.
The page-turn is free storytelling real estate that most first-time picture-book authors waste. A 32-page book gives you roughly 14 physical page turns after front matter — treat even half of those as reveal moments and the book reads faster and stronger without adding a single extra page.
© 2026 Publishing Xpress. All Rights Reserved.