July 23, 2026
A how-to book earns repeat use when the reader can flip straight to the step they need instead of hunting through paragraphs of context. This guide covers how to write a how-to book that survives real use in 2026 — from step order to binding that lies flat at a desk or workbench.
A how-to book competes with a five-minute YouTube video and a free Google search answering the same question. What keeps a printed copy on the shelf in 2026 is friction removed at the point of use — it opens flat, the needed step is one flip away, and nobody has to reread a paragraph three times to find where "step 4" actually starts.
Most self-published how-to titles fail not because the instructions are wrong but because the book is formatted like a novel: long paragraphs, no sub-headings, binding that snaps shut mid-task. If your project covers repeatable tasks — recipes, exercises, assembly steps — the binding options built for workbooks and study guides matter as much as the writing itself.
Fix structure and binding together and the same content becomes something a reader actually uses, instead of something skimmed once and shelved. That difference shows up in returns, reviews, and whether anyone opens the book a second time.
Lock the structure first so you're not reordering half-written chapters later. Write each discrete action as one line — a typical 80 to 150 page how-to book runs 15 to 40 numbered steps once related actions get grouped into sections.
Common mistake: drafting narrative first and pulling steps out afterward. That approach buries the actual instruction inside a paragraph explaining why it matters, and readers have to dig for it.
Give each step 2 to 4 sentences: what to do, the exact amount or setting, and what the result should look like. A reader following along at a workbench in 2026 doesn't want to parse a six-sentence paragraph to find one number.
Common mistake: leading with backstory instead of the action. "Before you start, it helps to know that…" pushes the real instruction to sentence four, and skimmers stop reading before they get there.
Numbers alone aren't enough — "Step 4" tells a skimmer nothing about what's on that page. Pair the number with an action-verb phrase ("Step 4: Sand the edge to 220 grit") so a reader flipping through finds the right page without reading the full paragraph.
The same logic that governs chapter headings in a nonfiction book applies here — descriptive beats decorative. Common mistake: numbering steps but leaving the heading generic or blank.
A how-to book gets reused, which means the table of contents has to work like an index, not a chapter list. List every named sub-step with its page number, not just the section header.
A table of contents built for a nonfiction book that stops at "Chapter 3" forces the reader to hunt page by page. Common mistake: finalizing the table of contents before locking pagination, so every number shifts after the final proof.
If describing a hand position, a wiring layout, or a knife angle takes more than two sentences, replace the paragraph with an image. Keep every screenshot or photo at 300 dpi minimum — anything lower prints soft and readers can't tell what they're looking at.
Common mistake: pasting a web screenshot straight into the manuscript at 72 dpi. It looks fine on a monitor and turns to mud on the printed page.
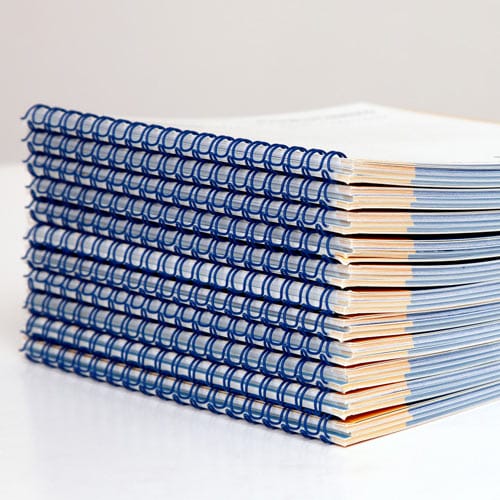
An 8.5" x 11" trim with Wire-O or plastic coil binding lies flat on a desk or workbench. A perfect bound 6" x 9" book built like a novel won't stay open past page 40 without a hand holding it down.
Pick the trim and binding before finalizing margins — binding type changes how much inner margin you need to keep text readable near the spine. Common mistake: choosing a binding for how it looks on a shelf instead of how it performs at the point of use.
“If the book doesn’t lie flat on a desk, it’s a novel, not a how-to book.”
Order a single proof and use it exactly the way a reader would — at the desk, in the kitchen, on the job site. Publishing Xpress has no large minimum order requirement, so a one-copy proof costs a fraction of what a bad 50-copy run costs in wasted paper and reprints.
Common mistake: skipping the proof and finding the binding or trim problem only after the full 2026 print run ships.
The book won't lie flat at the workbench. Perfect binding and thick spines snap shut under their own weight — switch to Wire-O or plastic coil for anything under roughly 200 pages that needs to stay open hands-free.
Steps feel out of order once the proof arrives. Renumber after a full read-through with a test reader, not before. Most reordering problems only surface once someone follows the book start to finish, not while you're still writing it.
The table of contents page numbers don't match the printed book. Lock final pagination before generating the table of contents. Auto-generated tables pull from the finished file, not a draft, so build it last.
Instructions run long and readers stop mid-paragraph. Cut connecting phrases and split any paragraph over four sentences into two numbered sub-steps instead of one dense one.
Photos or screenshots print blurry. Check resolution before layout — anything under 300 dpi looks soft in a 5" x 8" or 8.5" x 11" trim, even if it looked sharp on screen.
Readers skip the introduction entirely. Move the first real instruction to page 2 or 3. A how-to buyer in 2026 wants the task, not eight pages of background on why the topic matters.
Once the step list and headings are locked, the writing part is mostly done — the harder call is what wraps around it. A nonfiction book introduction that runs too long undoes the no-throat-clearing rule you just followed for every step.
Keep the introduction under two pages and get the reader to step one fast. That's the same standard the instructions inside the book are held to, and readers notice when the front matter breaks it.
What’s the best way to structure a how-to book?
Number every step, pair each number with a descriptive heading, and cap each instruction paragraph at 2 to 4 sentences. A book built this way lets readers scan for the exact step they need instead of reading start to finish.
How long should a how-to book be?
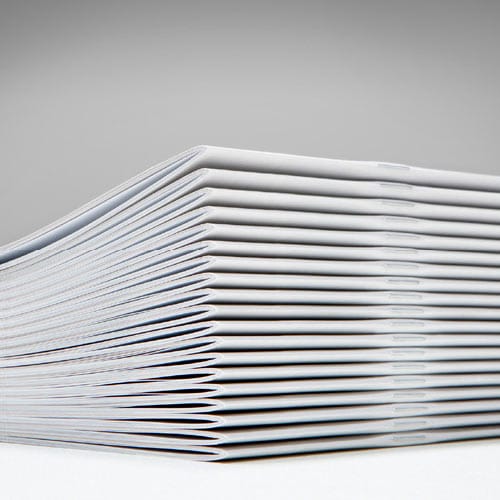
Most how-to books run 80 to 150 pages with 15 to 40 numbered steps grouped into sections. Shorter guides under 60 pages work fine as a saddle stitch booklet instead of a full bound book.
What binding is best for a how-to book?
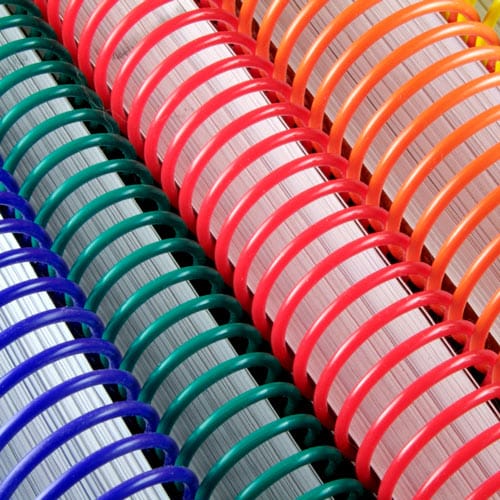
Wire-O or plastic coil binding wins for how-to books because both lie fully flat at a desk or workbench. Perfect binding looks more like a traditional book but won’t stay open hands-free past roughly 40 pages.
Should a how-to book have a table of contents?
Yes, and it should list sub-steps with page numbers, not just chapter titles. A how-to book gets reused like a reference tool, so the table of contents functions closer to an index than a chapter list.
How much detail should each step include?
Enough to act on without guessing: the exact amount, time, or setting, plus what the result should look like. Two to four sentences per step keeps the instruction visible instead of buried in a longer paragraph.
Is perfect binding a bad choice for how-to books?
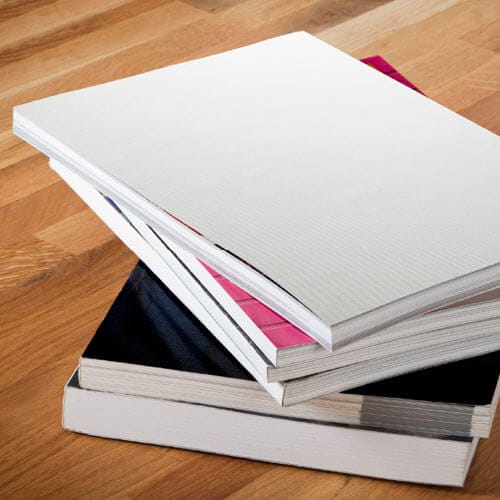
Not always, but it’s a weaker fit for anything used hands-free at a desk or workbench. Perfect binding works better for how-to books meant to be read cover to cover rather than referenced step by step.
How many copies should I print first?
Order one test copy and use it exactly the way a reader would before committing to a full run. A single-copy proof catches binding, trim, and pagination problems for a fraction of the cost of reprinting 50 copies.
Do how-to books need photos or diagrams?
Add one wherever describing a hand position, layout, or angle would take more than two sentences. Keep every image at 300 dpi minimum so it prints sharp instead of soft.
The table of contents is the page readers open first on repeat visits, more than the introduction. Build it as if it's the most-used page in the book — on a how-to title in 2026, it usually is.
© 2026 Publishing Xpress. All Rights Reserved.