August 27, 2026
Formatting an ebook for Kindle and print at the same time means building two separate files from one manuscript—a reflowable EPUB for Kindle Direct Publishing and a fixed-layout, print-ready PDF for your printer—because Kindle pages ignore trim size and print pages don't.
Authors who write the manuscript once and then try to make one file serve both Kindle and print end up fighting the format on both ends. Kindle reflows text to fit any screen size, so it has no fixed margins, no page numbers, and no bleed. Print is the opposite: it has a fixed trim size, a fixed page count, and physical constraints like gutter margin and bleed that a screen never has to worry about.
In 2026, most self-publishers still try to format print first because it's less forgiving, then adapt the ebook from that file. That order works. Going the other direction — starting from an EPUB and trying to force it into a print layout — is where formatting jobs go sideways, because ebook files strip out the fixed positioning print production depends on.
Pick your print trim size first because it decides your margins, your line count per page, and eventually your spine width. Changing trim size after you've formatted 250 pages means redoing every page break.
Most fiction runs 5.5 x 8.5 in or 5 x 8 in; nonfiction and workbooks often run 6 x 9 in or 8.5 x 11 in. Decide this before you touch margins.
Common mistake: picking a trim size to match a favorite book on your shelf without checking your own page count. A 60,000-word novel in 8.5 x 11 in looks like a pamphlet, not a novel.
Print pages need a fixed outer margin, an inner gutter margin that increases as page count grows, and 0.125 in of bleed on any element that touches the edge of the page — cover art, full-page images, or background color. Skip the bleed and printers trim straight through your artwork.
Work through how to choose margins for a print book before you export anything, because margin mistakes are the single most common reason a first print proof comes back wrong.
Common mistake: using the same 1-inch margin on every page regardless of binding. A 350-page perfect bound book needs a wider gutter than a 60-page saddle-stitched booklet, or text disappears into the spine.
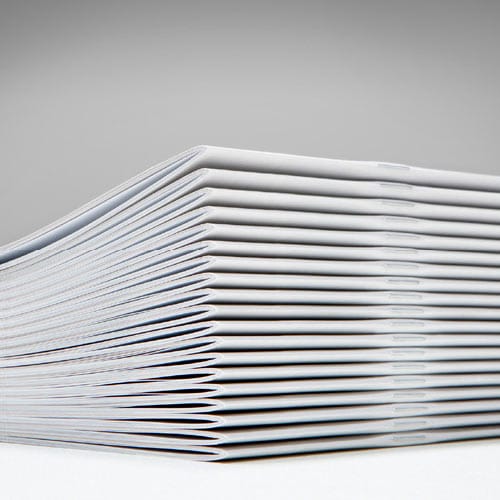
Your binding decision changes your gutter margin, your spine width calculation, and even whether a full-bleed image is safe to use near the spine. Perfect binding needs a calculated spine width based on paper stock and page count; saddle stitch has no spine at all and caps out around 92 pages.
Compare the two directly in perfect binding vs. saddle stitch: which should you use before you lock your page count, not after.
Common mistake: finalizing the manuscript at 340 pages, then discovering the binding you wanted only works cleanly under 300.
A print PDF has to embed every font it uses, or your printer's system substitutes a default font and your line breaks, page count, and even your table of contents page numbers shift. Export as PDF/X-1a or a high-resolution PDF with fonts embedded, not just a standard Word-to-PDF save.
Check your export against a PDF basics guide for book printing before you send the file anywhere, because a bad export is invisible on your screen and obvious on the printed proof.
Common mistake: exporting from Word with default settings, which flattens embedded fonts inconsistently across different versions of Word.
Once the print file is locked, start the Kindle file from the same manuscript, not from the print PDF. Remove manual page breaks, drop-caps that don't reflow, fixed headers and footers, and any page-number cross-references — none of them survive in a reflowable EPUB.
Kindle text needs to reflow across every screen size and font setting a reader chooses. Anything fixed in the print layout becomes a bug in the ebook.
Common mistake: copying the print file's chapter breaks (which use manual page breaks tied to trim size) instead of using proper heading styles, which breaks the ebook's table of contents.
Kindle needs a clickable, navigable table of contents built from heading styles, not page numbers. Front matter — title page, copyright page, dedication — still belongs in the ebook, but strip anything print-specific like a spine calculation note or a printer's mark.
Downsample print-resolution images (300 dpi or higher) to screen resolution before embedding them in the EPUB. A 300 dpi print image bloats file size and can trigger Amazon's file-size-based delivery fees without adding any visible quality on a Kindle screen.
Common mistake: leaving full-resolution print images in the EPUB, which inflates file size and slows load time without any visual benefit.
Run the EPUB through Kindle Previewer to check reflow across device sizes, and open the print PDF at 100% zoom to check margins, bleed, and page order side by side. Catching a dropped page or a shifted margin before submission costs you ten minutes; catching it after a proof run costs you a reprint.
Common mistake: proofing only on a laptop screen. What reflows fine on a 13-inch monitor can break differently on a phone-sized Kindle screen.
“Build the print file first and strip it down for the ebook — building the ebook first and forcing it into a print layout creates twice the rework.”
Once your print file is locked, work through a PDF basics guide for book printing before you submit anything to a printer in 2026 — most rejected files fail on font embedding or missing bleed, not on the writing.
What’s the best way to format an ebook for Kindle and print at the same time?
Build the print-ready PDF first with fixed trim size, margins, and bleed, then strip that formatting down to build a reflowable EPUB for Kindle. Trying to force one file to serve both formats causes more rework than building them separately.
Do Kindle and print books need the same margins?
No. Print needs fixed outer margins, a gutter margin that grows with page count, and 0.125 in of bleed on edge-touching elements. Kindle has no fixed margins because text reflows to fit the reader’s screen.
Is EPUB or MOBI the right format for Kindle in 2026?
EPUB is the required format for new Kindle uploads; Amazon moved away from MOBI in 2022. If your conversion tool still defaults to MOBI, check the export settings before uploading.
How much bleed does a print book need?
Standard bleed for book printing is 0.125 in on any edge where an image, color, or design element touches the page edge. Text blocks that stay inside the margin don’t need bleed at all.
Can I use the same cover file for Kindle and print?
No. The print cover needs a calculated spine width based on page count and paper stock, plus front and back panels sized to trim. The Kindle cover is a single flat image with no spine or back panel.
Does binding type affect ebook formatting?
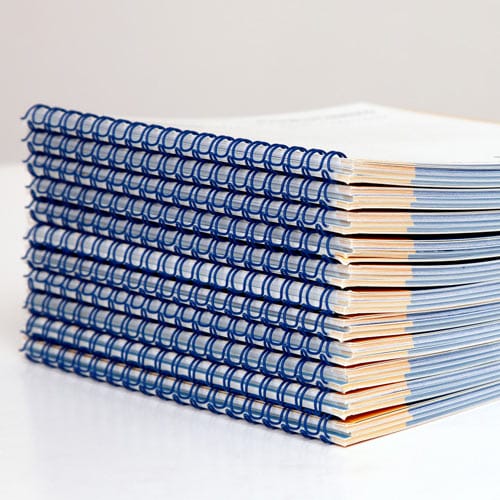
Binding only affects the print file — gutter margin, spine width, and page count limits are all tied to whether you choose perfect binding, saddle stitch, wire-o, or coil. The ebook file is unaffected by binding choice entirely.
How long does it take to format a book for both Kindle and print?
A 200-300 page manuscript typically takes 3-6 hours for a first formatting pass across both files, longer for heavily illustrated books. Most of that time goes into the print file since it has more fixed constraints.
What causes a print proof to come back with cut-off text?
Cut-off text near the spine usually means the gutter margin wasn’t widened to match the final page count, or the spine width was calculated before the page count was locked. Recalculate both before reordering a proof.
The file order trips up more first-time self-publishers than any single formatting rule: format print first, then build the ebook from what's left after you strip the fixed layout out. Do it backward and you'll spend more time undoing ebook formatting than you would have spent building the print file correctly in 2026.
© 2026 Publishing Xpress. All Rights Reserved.