

October 2, 2026
Instead of rebuilding your cover whenever the manuscript changes, use this 2026 Canva book cover to print workflow: confirm the printer’s dimensions, assemble the correct cover layout, export PDF Print, and inspect the downloaded file before submitting it. A Canva cover becomes print-ready only when its size, spine, bleed, and artwork match the job—not simply because you downloaded a PDF.
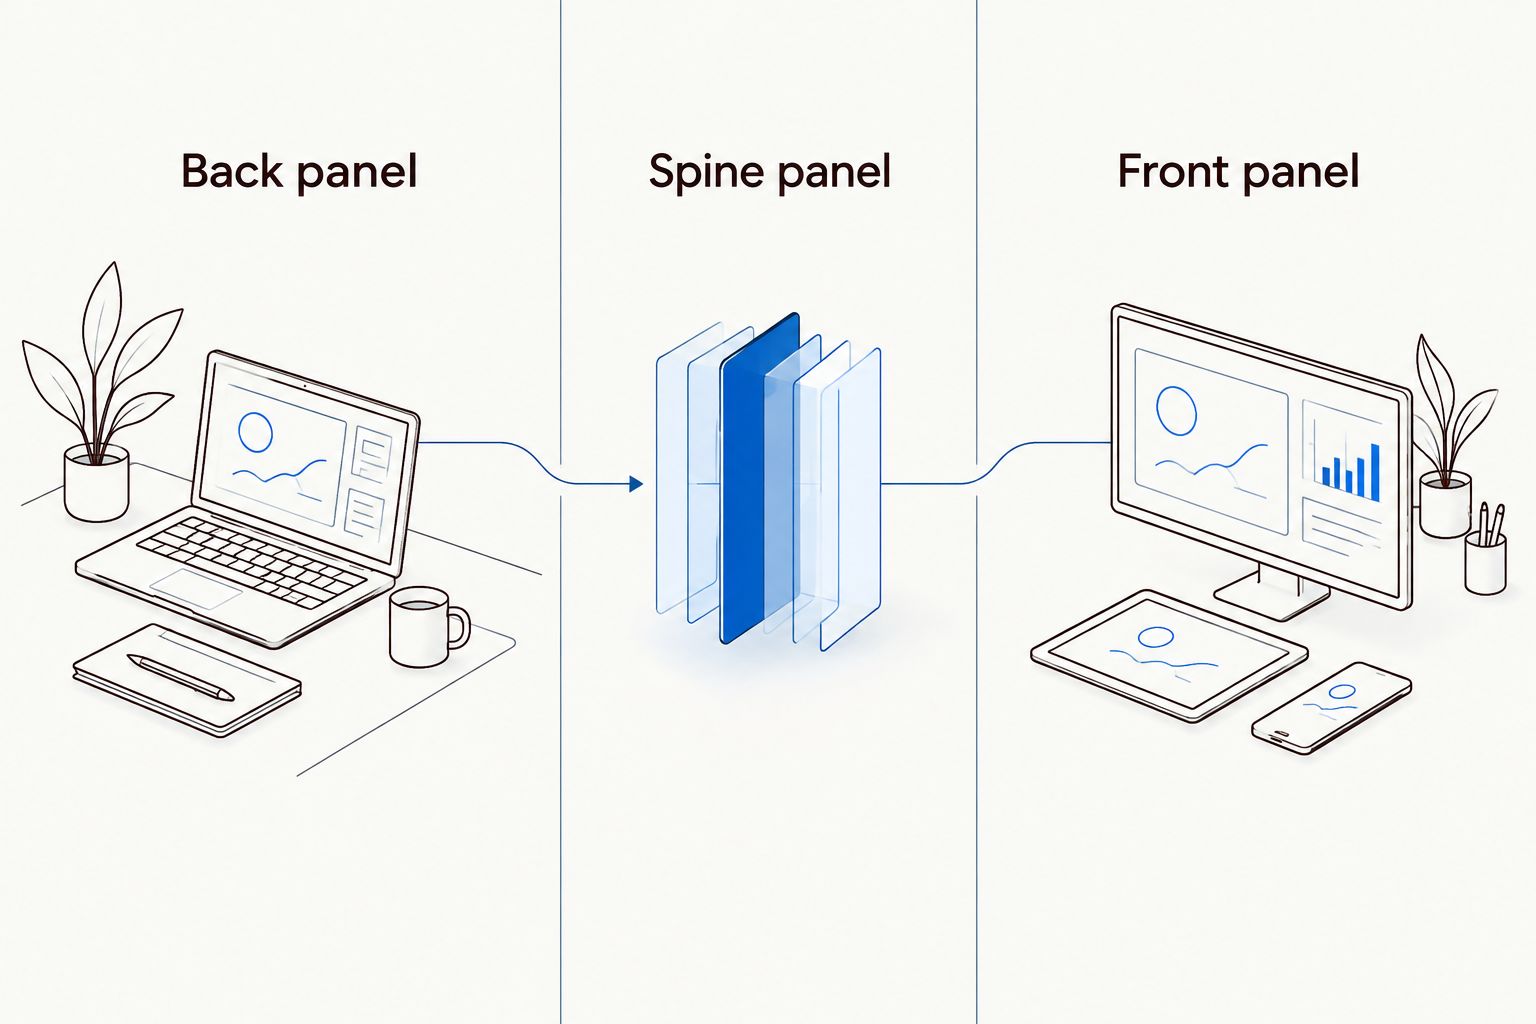
Canva makes arranging a title and image straightforward. Binding adds requirements that a front-cover template does not resolve: the back cover, spine, trim position, and artwork extending beyond the cut edge.
Publishing Xpress is best for self-publishers and organizations seeking short-run digital book printing. Its printing services do not make an incorrectly sized Canva file print-ready; you still need specifications for your particular book. Start with Publishing Xpress to establish the printing requirements before building your cover.
For your 2026 edition, treat the cover and interior as a matched pair. Changing the interior paper or page count can change the required perfect-bound spine width, even when the title and front artwork stay identical.
Keep the printer’s instructions beside your design. A cover template is a production map, not a decorative background; its fold, trim, and safety lines determine where your artwork belongs.
Choose the binding before choosing the canvas. These formats do not use the same spine or binding-edge treatment.
| Binding | Best for | Cover-layout advantage | Limitation to plan around |
|---|---|---|---|
| Perfect bound | Books needing a printed spine | Back, spine, and front form a continuous wrap | Spine width depends on the finished interior and paper |
| Saddle stitch | Stapled booklets and programs | No separate flat spine panel to calculate | Printer instructions still determine cover spreads and page arrangement |
| Wire-O | Workbooks and reference material used open | Separate cover panels suit the punched binding edge | Text and artwork need clearance from the punched edge |
| Plastic coil | Planners and practical manuals | Separate panels avoid a perfect-bound spine calculation | Binding holes require a protected area along the binding edge |
Publishing Xpress offers these four binding options. Match the Canva layout to the chosen binding, not to the appearance of a template thumbnail.
Expected result: You have a written cover specification with no unresolved dimensions or panel-order questions.
For a basic perfect-bound paperback wrap, the untrimmed outside-cover width is the back-panel width plus the spine width plus the front-panel width. Outer bleed is additional; it is not another spine allowance.
A common commercial-print bleed allowance is 0.125 inch, equivalent to 3.175 mm, on the specified outer edges. That is a general convention, not a Publishing Xpress specification. Use the amount your printer requires, and consult the guide to full bleed in book cover design if trim and bleed still look interchangeable.
Do not add bleed twice. Some templates describe finished trim dimensions; others already include the full outer bleed area. Establish which measurement you received before creating the canvas.
Build a dedicated print-cover design rather than stretching an ebook thumbnail. Enlarging a finished thumbnail also enlarges its weaknesses: insufficient image detail, misplaced text, and missing production space.
Expected result: Your cover contains the required panels at the correct dimensions, with backgrounds reaching beyond trim and text protected from cuts and folds.
300 pixels per inch is a common target for photographic artwork at its final printed dimensions. The relevant measurement is effective resolution after placement, not a resolution label attached to the original file.
Divide an image’s pixel width by its placed width in inches to determine its effective horizontal resolution. Repeat for height, particularly when cropping or enlarging the image to fill a panel.
Downloading a small image inside a PDF does not restore missing detail. Replace weak source artwork, reduce its printed size, or change the composition before export.
Also check small type against its background. A title that reads clearly on a bright screen can lose definition over a busy photograph; simplify the background or strengthen the contrast rather than relying on a later printing adjustment.
For this 2026 workflow, PDF Print is the appropriate Canva export starting point. It does not certify the cover’s dimensions, image resolution, color, or binding suitability.
cover-2026-approved.pdf only after approval.Expected result: You have a downloaded cover PDF with deliberate export settings, not an unchecked file left in a browser preview.
Crop marks identify trim positions; they are not printable cover artwork. A printer can require bleed without wanting crop marks, so Canva’s combined control needs particular attention. If that control cannot produce the requested file arrangement, have the export prepared to the printer’s specification before submission.
Color conversion also deserves a separate check. A CMYK export setting does not guarantee that a printed cover will match a backlit display, and it does not replace a proof.
Check the PDF outside Canva. You are approving the file that will be printed, not the editable design that produced it.
Expected result: Your submitted cover matches the book specification, and the cover and interior versions are unambiguous.
Publishing Xpress provides short-run printing, but the editable Canva design remains your production source. Keep it alongside the approved PDF so later revisions do not start from a flattened export.
A second workflow applies when you revise an existing book. Treat your 2026 cover as reusable artwork—not reusable geometry.
Best for: Authors updating an edition while retaining its visual design. The advantage is continuity; the limitation is that every geometry change still needs checking.
A text-only change does not automatically require a new canvas. A changed spine does. Separate those decisions before moving any artwork.
The background stops at trim or fails to reach the required bleed boundary. Extend the actual photograph, color, or illustration beyond trim, then export again; crop marks alone do not create bleed artwork.
The spine measurement or panel positions do not match the finished interior. Reconfirm the paper and page count, then rebuild the spine area around the printer’s measurement. Omit spine text when the permitted space cannot hold it safely.
The placed image lacks sufficient detail at its printed size. Use the original higher-resolution artwork or reduce its placed size; changing the export format does not repair an undersized source image.
A screen emits light; printed paper reflects it. Review the printer’s color requirements, check the exported profile, and judge critical colors from a production proof rather than from screen brightness.
Recheck units, canvas size, bleed handling, and crop-mark settings. Compare the actual downloaded PDF—not the Canva canvas label—with the requested specification, and correct the source before exporting again.
Keep a short production record for each 2026 edition: trim size, binding, interior paper, page count, spine measurement, bleed treatment, and approved filenames. This is more useful than saving several downloads with nearly identical names.
Reuse design elements across editions, but keep print covers separate from promotional graphics. A social image can omit the back and spine; a complete perfect-bound cover cannot.
For Publishing Xpress book printing, resolve the job specification before making the final export. That keeps your Canva design decisions tied to the book you intend to produce.
Can I use Canva to make a book cover for printing?
Yes. Build the cover to your printer’s dimensions and binding layout, export PDF Print, and inspect the downloaded file before submitting it. A front-cover template alone is not a complete perfect-bound cover.
What is the best Canva download format for a printed book cover?
PDF Print is the appropriate Canva starting point for a printed book cover. Confirm bleed, crop marks, color requirements, and page dimensions separately; the export format does not validate them.
Should I turn on crop marks and bleed in Canva?
Turn on Crop marks and bleed only when the resulting PDF matches your printer’s instructions. If your canvas already includes bleed, check the exported dimensions to avoid adding unwanted space or marks.
How do I get the right spine width for my Canva cover?
Get the spine width from your printer using the final interior page count and selected paper. Do not infer it from page count alone or reuse a measurement from another edition.
Can I print a Canva cover that contains only the front?
A front-only design is not a complete perfect-bound outside cover. Whether it can be submitted as a separate panel depends on the binding and the printer’s required file arrangement.
Why does my Canva book cover look blurry when printed?
Insufficient image resolution at the placed print size causes soft artwork. Check effective pixels per inch and replace weak source images; exporting them as PDF Print does not add detail.
Do I need to rebuild my cover after changing the manuscript?
Recheck the cover whenever manuscript changes affect page count, trim size, binding, or paper. For perfect binding, obtain an updated spine measurement and adjust the wrap if required.
Does a Canva PDF Print export guarantee a print-ready cover?
No. Print readiness also requires correct dimensions, binding geometry, bleed, safe areas, usable artwork, and the printer’s requested settings. Inspect the exported PDF and resolve technical questions before production.
A beautiful front cover can still belong to an unusable print file. Before approving your 2026 cover, ask one final question: does this PDF match the exact interior being printed?
If the answer depends on an earlier manuscript, old paper choice, or guessed spine, stop and update the geometry. That check protects the whole cover—not just its title.
© 2026 Publishing Xpress. All Rights Reserved.

